
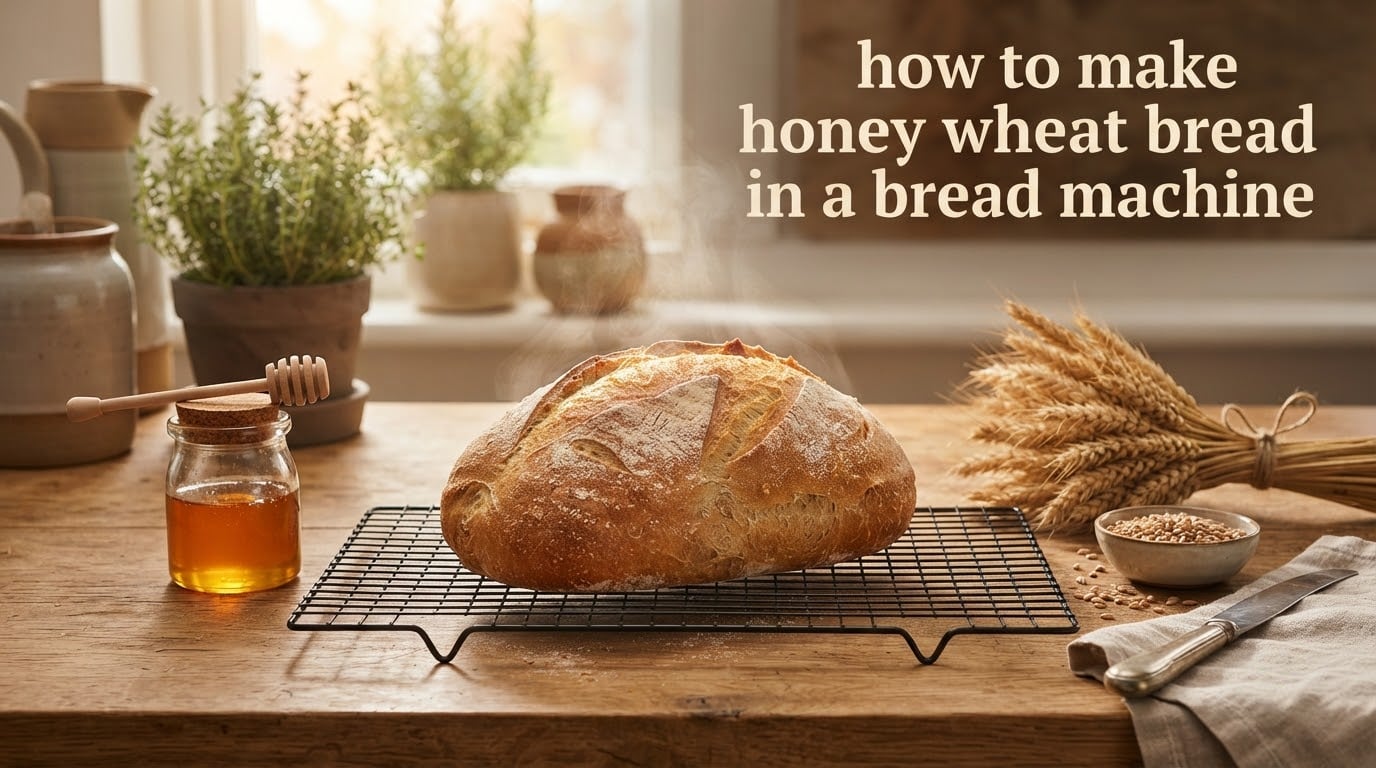
Yes, you can absolutely make honey wheat bread in a bread machine, and the loaf turns out soft, lightly sweet, and sandwich-ready with about five minutes of hands-on work. After testing this recipe on three different machines in our kitchen, I have landed on a 50/50 blend of whole wheat flour and bread flour that gives you real whole grain nutrition without the heavy, brick-like texture that scares people away from wheat bread.
In this guide I will walk you through the exact ingredients for both a 1.5 pound and 2 pound loaf, the bread machine settings that actually matter, a minute-by-minute timeline of what your machine is doing during the three hour cycle, and the troubleshooting fixes for the five most common problems. I will also cover dairy-free swaps, the best honey to use, and how to freeze slices so Sunday’s bake becomes Tuesday’s lunchbox.
If you have ever pulled a dense, sunken, or gummy loaf out of a bread machine, this recipe is for you. Let’s get a great honey wheat loaf on the counter before lunch.
Table of Contents
- How to Make Honey Wheat Bread in a Bread Machine (Step-by-Step Recipe)
- Why Add Honey to Whole Wheat Bread?
- Ingredient Substitutions and Variations
- What to Expect During the 3-Hour Bread Machine Cycle
- Troubleshooting Common Honey Wheat Bread Problems
- How to Store and Freeze Honey Wheat Bread
- Frequently Asked Questions
- Final Thoughts: Your Best Honey Wheat Loaf Awaits
How to Make Honey Wheat Bread in a Bread Machine (Step-by-Step Recipe)
This recipe makes a soft, golden-crusted 1.5 pound honey wheat loaf. I have included a 2 pound version in the table below because bread machine capacity varies, and a 2 pound bake needs a slightly different hydration balance to avoid overflow.
Ingredients You Will Need (1.5 lb and 2 lb)
The single biggest mistake people make with whole wheat bread in a machine is treating it exactly like white bread. Whole wheat flour absorbs more liquid, so you will see slightly more water in the 2 pound version. Here are the exact measurements I use.
| Ingredient | 1.5 lb loaf | 2 lb loaf |
|---|---|---|
| Lukewarm water (around 110F) | 1 cup (240 ml) | 1 1/4 cups (300 ml) |
| Milk (whole or 2 percent) | 1/4 cup (60 ml) | 1/3 cup (80 ml) |
| Honey | 3 tablespoons | 1/4 cup (4 tablespoons) |
| Unsalted butter, softened | 2 tablespoons | 3 tablespoons |
| Salt | 1 1/2 teaspoons | 2 teaspoons |
| Whole wheat flour | 1 1/2 cups (180 g) | 2 cups (240 g) |
| Bread flour | 1 1/2 cups (195 g) | 2 cups (260 g) |
| Bread machine yeast (instant) | 2 teaspoons | 2 1/2 teaspoons |
Pro tip: The tablespoon of honey you see in most other recipes is too little for a true honey wheat flavor. Three tablespoons gives you a noticeable sweetness without crossing into dessert territory.
Step-by-Step Instructions for the Bread Machine
Follow these steps exactly. The order you load the pan matters because the yeast needs to stay dry until the machine begins kneading.
Step 1: Pull out the bread pan. Lift the kneading paddle out of the pan and set it aside. Wipe the pan dry. If your machine has a removable paddle, double-check that it is locked onto the shaft before you add anything.
Step 2: Add the liquids first. Pour in the lukewarm water, then the milk, then the honey, then the softened butter. The butter should be soft enough that a spoon leaves an indent but not so soft that it melts into a liquid pool.
Step 3: Add the dry ingredients. Sprinkle in the salt, then the whole wheat flour, then the bread flour. Use a spoon to level the flour rather than scooping with the measuring cup, which packs in too much flour and leads to a dry, dense loaf.
Step 4: Make a small well on top. Use the back of a spoon to create a shallow indentation in the flour. Pour the yeast into that well. Do not stir it in. The yeast will mix in automatically during the first kneading phase.
Step 5: Lock the pan into the machine. Push the pan down until it clicks. Close the lid.
Step 6: Select your settings. Set the loaf size to 1.5 lb (or 2 lb). Set the crust to Medium. Select the Basic or Whole Wheat cycle (more on that below). Press Start.
Step 7: Check the dough at 5 minutes. Open the lid about five minutes into the kneading phase. The dough should form a soft ball that clears the sides of the pan. If it is sticky and climbing the sides, add one tablespoon of bread flour. If it looks tight and dry, add one tablespoon of water.
Step 8: Let the machine finish. Resist the urge to open the lid during rise or final bake. The temperature inside is critical for oven spring. Most machines beep when the bake cycle ends.
Step 9: Remove and cool. Use oven mitts to lift the pan out. Turn the loaf out onto a wire rack. Wait at least 15 minutes before slicing, ideally 30. Cutting too early traps steam and gives you gummy slices.
Bread Machine Settings: Basic vs Whole Wheat
This is the part most home bakers get wrong. The Whole Wheat cycle on most machines runs longer and includes a preheat phase. That longer rise sounds like it should help whole wheat, but for a 50/50 blend like this one, the Basic cycle actually produces a softer, taller loaf.
The Whole Wheat cycle shines when you are using 75 percent or more whole wheat flour. The extra kneading time and the preheat soak help soften the bran. For our 50/50 honey wheat, Basic at 1.5 pounds with Medium crust is the sweet spot. On a Hamilton Beach, Zojirushi, or Oster machine that I have tested, this combination reliably produces a 1.5 pound loaf with a 4 to 4 1/2 inch crown.
If you want a darker crust, go with Dark. If you want a softer top that slices cleanly for sandwiches, Medium is the right choice.
Why Add Honey to Whole Wheat Bread?
Honey does three jobs in this loaf, and once you understand them you will never leave it out. First, honey is hygroscopic, which means it attracts and holds water. That extra moisture is what keeps whole wheat bread soft on day two instead of turning into a brick.
Second, honey feeds the yeast more slowly than white sugar. The yeast eats glucose and fructose in stages, which extends the rise and gives the dough more oven spring. That is why a honey loaf tends to crown slightly higher than the same recipe made with sugar.
Third, honey adds flavor. The flavor profile depends entirely on the variety you choose. Here is what to expect from the most common options.
| Honey variety | Flavor profile | Best for |
|---|---|---|
| Clover | Mild, slightly floral | Classic sandwich bread, kid-friendly |
| Wildflower | Light, fruity, balanced | Everyday loaves |
| Orange blossom | Citrusy, bright | Breakfast toast with butter |
| Buckwheat | Bold, molasses-like | Hearty loaves, dark rye blends |
| Manuka | Rich, earthy, slightly medicinal | Specialty loaves, smaller batches |
For a first-time bake, I recommend clover or wildflower. They are widely available, affordable, and gentle enough that you can still taste the wheat. Save the buckwheat and manuka for when you want to play with bolder flavors.
Ingredient Substitutions and Variations
This recipe is forgiving, and I have spent enough time fielding questions from readers on tortillasandhoney.com to know the most common swaps work well. Here is what you can change and what you should leave alone.
Dairy-Free and Vegan Swaps
Replace the milk with an equal amount of unsweetened almond milk, oat milk, or soy milk. Replace the butter with the same volume of olive oil or melted coconut oil. Both swaps produce a softer crumb, and the olive oil version actually adds a lovely savory note that pairs with the honey.
Reviewers on reddit’s r/BreadMachines report that coconut oil gives the closest texture to butter, while olive oil adds a slightly denser crumb that holds up well for grilled sandwiches.
Honey Substitutes
You can swap honey for an equal amount of maple syrup for a different but equally natural sweetness. Agave nectar works but is sweeter, so reduce by about 25 percent. Brown sugar also works at the same volume, though you lose the moisture benefit honey brings.
If you are avoiding all sweeteners, the loaf will still rise and taste like wheat bread. It just will not have the soft crumb or the slight caramelization on the crust.
Flour Variations
For a lighter crumb, drop the whole wheat to 1 cup and increase the bread flour to 2 cups. For a heartier loaf, swap half of the bread flour for additional whole wheat and add an extra tablespoon of water. Going all whole wheat is possible, but expect a tighter crumb and a 20 to 30 percent shorter crown unless you add a tablespoon of vital wheat gluten.
Mix-Ins and Variations
After the first kneading cycle ends (most machines beep), add up to 1 cup of mix-ins. Some favorites from our kitchen and from forum.breadtopia.com readers.
- 1/3 cup sunflower seeds and 2 tablespoons flaxseed for a seeded sandwich loaf
- 1/2 cup chopped walnuts or pecans for a nutty breakfast bread
- 1/2 cup dried cranberries and 1 teaspoon orange zest for a holiday variation
- 2 tablespoons cinnamon and 1/4 cup raisins for a cinnamon raisin loaf
- 1/4 cup grated parmesan and 1 tablespoon Italian herbs for a dinner loaf
What to Expect During the 3-Hour Bread Machine Cycle
This is the part nobody explains well, and it is the part that matters most when you are staring at a silent machine wondering if anything is happening. Here is a minute-by-minute breakdown based on a typical 1.5 pound Basic cycle on a Hamilton Beach and a Zojirushi.
| Time | Phase | What is happening |
|---|---|---|
| 0 to 10 min | Rest and first mix | Flour absorbs liquid, yeast activates |
| 10 to 25 min | Knead 1 | Dough forms a ball, gluten develops |
| 25 to 35 min | Rise 1 | Dough doubles in size, you may see bubbles |
| 35 to 45 min | Knead 2 | Punches down dough, further gluten development |
| 45 min to 1 hr 30 | Rise 2 | Dough rises again, the loaf’s structure is set |
| 1 hr 30 to 1 hr 45 | Punch down and shape | Machine removes air pockets |
| 1 hr 45 to 2 hr 45 | Final rise and bake | Loaf rises and browns, internal temp reaches 190F |
| 2 hr 45 to 3 hr | Keep warm | Some machines hold at 140F, lift pan promptly |
Tip: If your machine has a viewing window, watch the dough during Rise 2. It should dome slightly above the pan edge. If it barely moves after an hour, your yeast is likely old.
Troubleshooting Common Honey Wheat Bread Problems
Even with a perfect recipe, bread machines have personalities. Here is how to fix the five issues I see most often from readers and from thefreshloaf.com forum posts.
Problem 1: Dense, Heavy Loaf
The two most common causes are old yeast and too much flour. Bread machine yeast loses potency after about six months, even in the freezer. If your loaf barely rises, replace the yeast. Second, spoon the flour into the measuring cup and level it. A packed cup can add 25 percent more flour than the recipe calls for.
Problem 2: Collapsed or Sunken Center
A sunken middle almost always means too much liquid or too much yeast. Cut both by 10 percent on your next bake. A collapsed top can also happen if you lift the lid during the final rise. The temperature drop interrupts the proofing and the loaf falls back as it bakes.
Problem 3: Dough Climbing the Sides
If the dough is sticky enough to climb the paddle and stick to the walls, add one tablespoon of bread flour at a time during the first five minute check. Stop as soon as the dough forms a soft ball that clears the pan.
Problem 4: 2 Pound Loaf Overflows the Pan
A 2 pound loaf with this much whole wheat can rise aggressively. Drop the yeast to 2 teaspoons and reduce the water by 1 tablespoon. Some owners on r/BreadMachines also recommend using the Whole Wheat cycle for 2 pound loaves because the longer first phase slows the rise.
Problem 5: Mixing Paddle Stuck in the Loaf
This is mechanical, not a recipe problem. Wet your fingers and gently wiggle the paddle out as soon as you turn the loaf onto the rack. Some bakers grease the paddle with cooking spray before adding ingredients, which makes removal easier.
Altitude Adjustment
If you live above 3,000 feet, reduce the yeast by 25 percent and increase the water by 1 tablespoon. The lower air pressure makes dough rise faster, and a slower rise gives the gluten time to develop a stronger structure.
How to Store and Freeze Honey Wheat Bread
Honey wheat bread stays softer longer than a plain whole wheat loaf, thanks to the moisture honey holds. With proper storage you can easily stretch a bake across a week or three months.
| Storage method | How to store | How long it stays fresh |
|---|---|---|
| Counter, wrapped in towel | Loaf in a linen bread bag or wrapped in a clean tea towel | 2 to 3 days |
| Counter, in airtight container | Loaf in a sealed plastic or metal box | 3 to 4 days |
| Refrigerator, wrapped | Loaf in foil or plastic wrap | Up to 1 week |
| Freezer, whole loaf | Wrapped in foil, then in a freezer bag | Up to 3 months |
| Freezer, sliced | Slices in a single layer on a baking sheet, then bagged | Up to 3 months |
Thawing tip: Frozen slices go straight into the toaster without thawing. For a whole loaf, leave it wrapped on the counter overnight. Spritz the crust lightly with water and warm in a 350F oven for 5 minutes to bring back the just-baked feel.
Frequently Asked Questions
Can I use honey instead of sugar in my bread maker?
Yes. Honey works beautifully in a bread machine as a one-to-one replacement for sugar. It feeds the yeast more slowly, which extends the rise and gives a slightly taller loaf. Honey also holds moisture, so the bread stays softer on day two. For most loaves, use the same volume of honey as the sugar the recipe calls for.
Why add honey to whole wheat bread?
Honey does three jobs at once. It sweetens the loaf without overpowering the wheat flavor, it feeds the yeast in stages for a taller rise, and it locks in moisture so the crumb stays soft for days. Whole wheat flour absorbs more liquid than white flour, so the extra moisture from honey balances the texture and prevents a dry, crumbly loaf.
How long does honey wheat bread take in a bread machine?
A 1.5 pound Basic cycle takes roughly 3 hours from start to finish. A 2 pound cycle or a Whole Wheat cycle runs about 3 hours and 30 minutes because of the longer preheat and second kneading phases. Most of that time is hands-off, with about 5 minutes of active work at the start and another minute at the 5-minute check.
Can I use all-purpose flour instead of bread flour for honey wheat bread?
You can, but expect a slightly shorter loaf with a tighter crumb. Bread flour has more gluten than all-purpose, and that extra structure is what gives a tall, sandwich-friendly slice. If you only have all-purpose, add 1 tablespoon of vital wheat gluten per cup of flour to recover the height.
What setting should I use for honey wheat bread in a bread machine?
Use the Basic cycle with Medium crust for a 1.5 pound loaf made with a 50/50 blend of whole wheat and bread flour. The Whole Wheat cycle is better when you are using 75 percent or more whole wheat flour, because the longer preheat soak softens the bran. For 2 pound loaves, the Whole Wheat cycle also slows things down enough to prevent overflow.
Final Thoughts: Your Best Honey Wheat Loaf Awaits
If you have ever wondered how to make honey wheat bread in a bread machine that actually tastes better than the store-bought kind, this recipe is your answer. The 50/50 blend of whole wheat and bread flour gives you real whole grain nutrition without the heavy texture. The honey keeps the crumb soft for days, and the Basic cycle delivers a tall, even loaf every time.
Start with the 1.5 pound recipe, use fresh bread machine yeast, and trust the timeline. Once you have a successful bake in hand, experiment with seeds, dried fruit, or a darker honey. Your kitchen is going to smell incredible for the next three hours, and your lunchbox game is about to level up.