
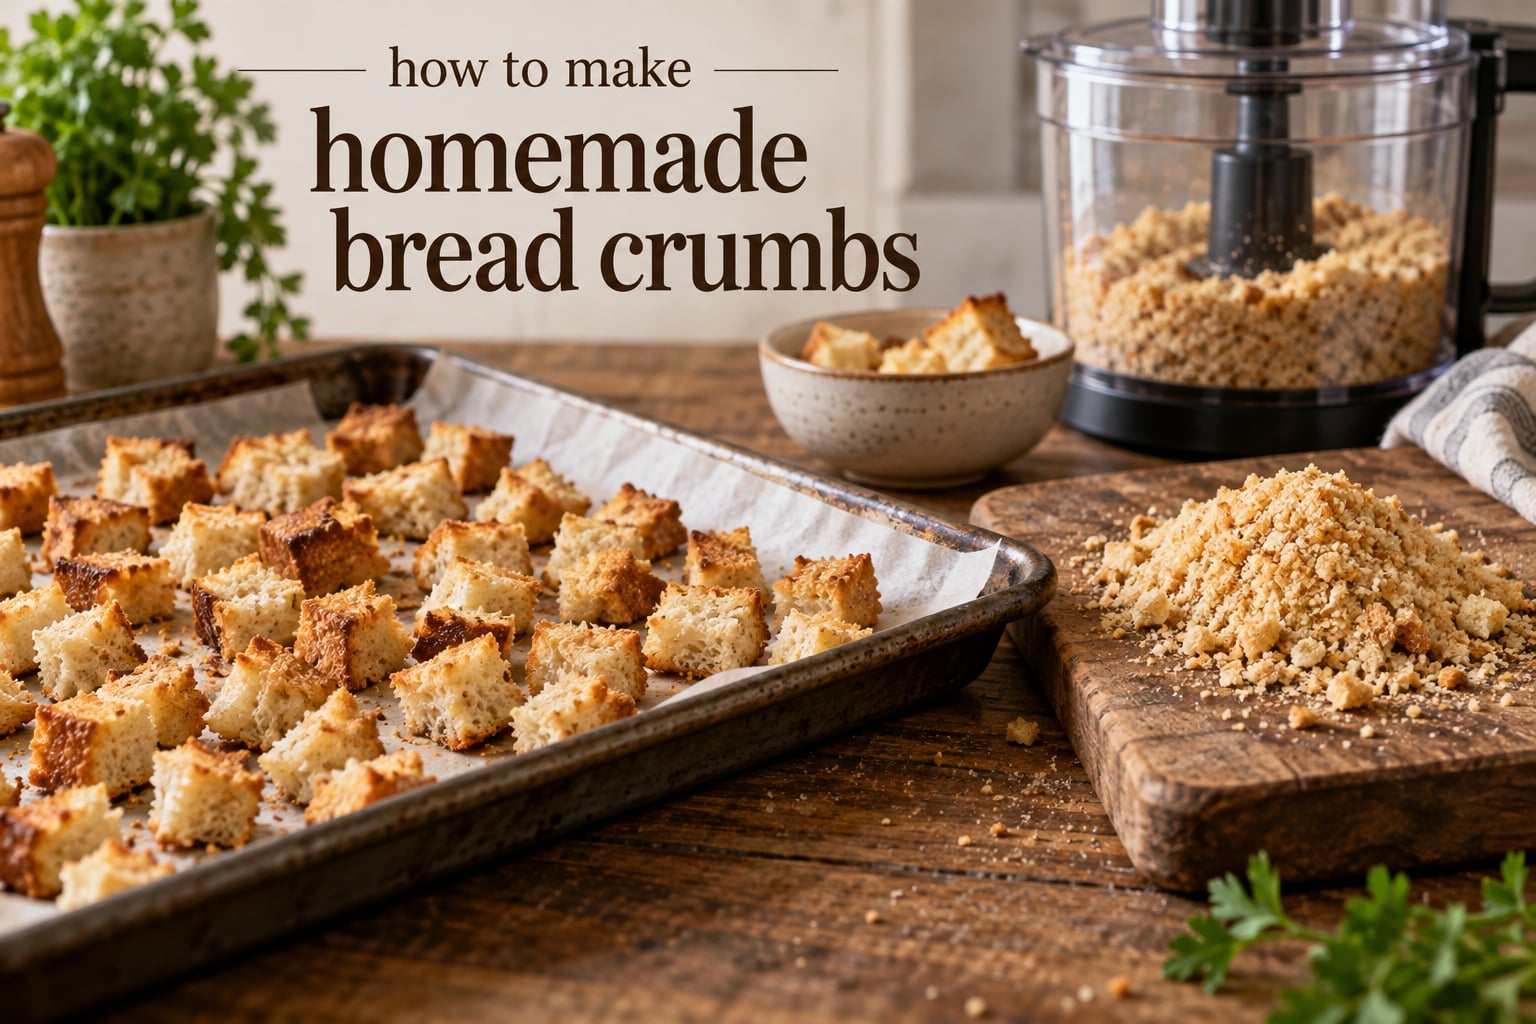
To make homemade breadcrumbs, cut bread into 1-inch cubes, bake them at 300°F for 10 to 15 minutes until completely dry, let them cool, then pulse them in a food processor to the crumb size you want. That is the whole method. Everything else on this page is a variation of it: how to dry the bread faster, how to crumb it without a machine, and how long the finished crumbs keep.
Breadcrumbs are simply bread that has been dried until crisp and broken down into crumbs. Once you understand that the drying step matters far more than the crumbing step, the rest is easy.
I make a batch roughly every two weeks in our kitchen, mostly from the heel slices and small rolls that would otherwise go in the bin. We use them for chicken cutlets, a mac and cheese topping, and the base of a meatloaf. Fresh crumbs also taste better than the boxed kind, because you control the salt and can season them exactly for the dish.
Table of Contents
- Quick Answer: How to Make Homemade Breadcrumbs in Five Steps
- What Kind of Bread Works Best
- How to Make Homemade Breadcrumbs: Step by Step
- Four Ways to Dry Bread for Breadcrumbs
- How to Make Breadcrumbs Without a Food Processor
- Choosing Fine, Medium, or Coarse Crumbs
- How to Make Italian Seasoned Breadcrumbs
- How to Store Homemade Breadcrumbs
- Troubleshooting: Why Breadcrumbs Go Wrong
- Ways to Use Homemade Breadcrumbs
- Frequently Asked Questions
- Conclusion
Quick Answer: How to Make Homemade Breadcrumbs in Five Steps
This is the short version. Each line is one action, and each one depends on the last.
- Cut the bread: Tear or cut stale bread into 1-inch cubes, leaving the crusts on unless you want a lighter crumb.
- Dry the bread: Spread the cubes in a single layer on a baking sheet and bake at 300°F for 10 to 15 minutes, stirring once.
- Cool completely: Let the cubes sit on the sheet for 5 to 10 minutes until they are room temperature and hard as a rock.
- Process into crumbs: Pulse in a food processor until you reach the crumb size you want, and stop before it turns to powder.
- Store: Scrape the crumbs into an airtight container and keep them at room temperature or in the freezer.
Total hands-on time runs about 20 minutes, with another 20 minutes of oven and cooling time. One standard loaf gives you roughly 4 to 5 cups of crumbs.
What Kind of Bread Works Best
You can make breadcrumbs from regular bread, and stale bread is the easiest starting point. Day-old loaves, leftover rolls, and the heel slices nobody wants all work fine.
Fresh bread from the bag works too, but it holds more moisture, so it needs the full oven step. Stale, air-dried bread can often skip the oven entirely and go straight to processing.
On crusts, it is a tradeoff. Leaving them on gives you a darker, crunchier crumb with more flavor. Removing them gives you a lighter, sand-like crumb that is better for binding meatballs and coating delicate fish.
House cooks on cooking forums generally agree that you do not need to hunt down special bread. A retired home baker I read about freezes every scrap of bread in a single bag as they buy it, then blitzes the whole bag into crumbs whenever the stash reaches a worthwhile size. That is a good habit.
For substitutions, whole wheat gives a nuttier, darker crumb. Sourdough adds tang. Seeded or multigrain loaves add texture, and readers confirm that mixing wheat, white, and seeded bread produces a more interesting crumb than any single variety. Gluten-free bread works, though the crumbs tend to be lighter and less sturdy in a coating.
How to Make Homemade Breadcrumbs: Step by Step
The method works by removing every trace of moisture, then breaking the crisp bread apart without grinding it. Here is the version I use most weeks.
Step 1: Cut or tear the bread
Tear the bread by hand into rough 1-inch cubes, or cut it with a serrated knife. Tearing gives you more irregular pieces, which makes for a more interesting crumb. Keep the pieces roughly even so they all finish drying at the same time.
Put the cubes on a baking sheet lined with parchment paper or a silicone mat. Spread them in a single layer with space between them. Crowding traps steam in the middle, and that trapped moisture is the number one reason homemade crumbs turn out damp.
Step 2: Dry the bread
Bake at 300°F for 10 to 15 minutes, stirring the cubes once at the halfway mark. If they are still soft in the center, return the sheet for another 5 minutes. Some breads, especially sourdough and seeded loaves, need closer to 20 minutes.
The cubes should look pale gold and feel hard, with no give when you press one. Pale is fine. You are driving off water, not browning the bread.
Step 3: Cool completely
Leave the cubes on the baking sheet for 5 to 10 minutes, or move them to a wire rack. Processing warm bread turns the crumbs into a paste that gums up the blade, so this step is not optional.
Step 4: Process into crumbs
Drop the cooled cubes into a food processor and pulse in short bursts. One or two pulses gives coarse crumbs, five or six gives a medium crumb, and continuous running turns them to powder. Lift the lid and shake down the sides between pulses so you do not end up with a mix of powder and chunks.
Many home bakers on Cheftalk and TalkFood dry 1-cm diced pieces until completely dry first and blitz them second, which is the order used here. Some cooks run a coarse pulse, return the crumbs to the oven for a few minutes to firm up, then pulse once more for a final sand-like texture. Both work.
Step 5: Store the crumbs
Scrape the finished crumbs into a clean, fully dry container with a tight lid. Any moisture on the container walls works against you as much as moisture in the crumbs.
If you have a food dehydrator or want to avoid any scorching, home bakers on food forums dry bread slowly at around 50°C, or on the lowest oven setting, over a couple of hours. It takes longer, and the crumb color stays very pale.
Four Ways to Dry Bread for Breadcrumbs
There is no single best drying method, because the right one depends on how stale your bread is and how much time you have. Compare them below.
| Method | Temperature | Time | Best For |
|---|---|---|---|
| Oven, low | 300°F | 10 to 15 minutes | The default. Even drying with a light color |
| Oven, hotter | 350°F | 15 to 20 minutes | Denser loaves like whole wheat or sourdough |
| Air-dry | Room temperature | 1 to 2 days | Already-stale bread, no oven needed |
| Low and slow | About 50°C or lowest oven setting | 2 to 3 hours | Avoiding scorching, keeping the crumb pale |
| Dehydrator | About 50°C | 2 to 3 hours | Large batches, best color control |
To check whether the bread is dry enough, pick up a cube and snap it. If it bends instead of breaking cleanly, it needs more time.
How to Make Breadcrumbs Without a Food Processor
Yes, you can make breadcrumbs without a food processor, and a box grater works almost as well. Plenty of home cooks have no processor at all, or have a small one whose blades jam on a full baguette.
Method 1: Box grater
Use the large holes of a box cheese grater and grate the fully dried bread. Rub the crumb along the length of the holes to keep the pressure light. This is the most consistent of the hand methods and takes about 5 minutes for a loaf.
Method 2: Rolling pin in a sealed bag
Put the dried bread in a zip-top bag, seal it, and roll it repeatedly with a rolling pin until the bag holds loose crumbs. It is slow and loud, but it gives a coarse, uneven crumb that is excellent for casseroles.
Method 3: Blender in small batches
A blender works if you keep the batches small. Put a few pieces in at a time and pulse rather than blending continuously. Large batches of bread unwork into a dense paste that clings to the blades.
Method 4: Potato masher
Put the dried bread in a sturdy bowl and mash it with a potato masher. Watch for splinters and wear gloves if the pieces are hard. Expect an uneven texture, which is fine for meatloaf and casseroles.
| Method | Time Per Loaf | Resulting Texture | Effort | Best For |
|---|---|---|---|---|
| Food processor | 2 minutes | Any size, fully adjustable | Low | Everyday use |
| Box grater | 5 minutes | Coarse, uniform | Medium | Fried foods, coatings |
| Rolling pin | 10 minutes | Coarse and irregular | High | Casseroles and gratins |
| Blender | 3 minutes | Fine, flour-like | Medium | Binding mixtures |
| Potato masher | 4 minutes | Chunky and uneven | Medium | Meatloaf and stuffing |
If you own none of these, buy a cheap box grater before anything else. It is the single best tool for making breadcrumbs when you already own a food processor, and the cheapest entry point when you do not.
Choosing Fine, Medium, or Coarse Crumbs
Crumb size is a choice, and the right one depends on the dish. Most recipes never say this, so cooks end up with whatever the machine produced.
| Crumb Size | How to Get It | Best For |
|---|---|---|
| Fine | 6 or more pulses, or a blender | Binding meatballs and meatloaf, dredging |
| Medium | 3 to 5 pulses | Casseroles, gratins, mac and cheese topping |
| Coarse | 1 or 2 pulses, or a box grater | Fried chicken, pan-fried fish, crunchy tops |
For the rough texture that fried foods want, panko is the traditional choice because its crumbs are coarse and stay crisp when wet. A coarse homemade crumb stands in well.
How to Make Italian Seasoned Breadcrumbs
Seasoned crumbs turn leftover bread into a usable ingredient for dishes that were calling for Italian bread crumbs all along. The easiest ratio is 1 to 2 teaspoons of seasoning per cup of dry breadcrumbs.
For a 4-cup batch, combine 2 teaspoons dried parsley, 1 teaspoon dried basil, 1 teaspoon garlic powder, 1 teaspoon onion powder, 3/4 teaspoon dried oregano, 1/2 teaspoon paprika, 1/2 teaspoon salt, and 1/4 teaspoon red pepper flakes.
Toss the seasoning with the crumbs while they are still warm from the oven. Warm crumbs hold the flavor better than crumbs you season cold.
Variations are easy. Swap in smoked paprika for a deeper tone, or add 1/3 cup of grated parmesan for a cheese-forward coating. Seasoned crumbs keep the same shelf life as plain ones as long as no oil or fresh herbs are involved.
How to Store Homemade Breadcrumbs
Store homemade breadcrumbs in an airtight container at room temperature for up to two weeks, or freeze them for up to three months. The difference between a two-week shelf life and a two-month one almost always comes down to how dry the crumbs were when they went into the container.
| Method | Duration | Conditions |
|---|---|---|
| Room temperature | Up to 2 weeks | Airtight container, completely dry crumbs, out of sunlight |
| Refrigerator | Up to 1 month | Airtight container, back of the shelf |
| Freezer | Up to 3 months | Airtight container or freezer bag, remove all air |
Freezing breadcrumbs works well and is better than freezing fresh bread, because the crumbs are already at the correct dryness. Thaw them in the container on the counter and use them straight from there.
Freezing the bread itself also works if you want to build a stash. Freeze the slices or rolls in a labeled bag, then thaw them at room temperature for roughly 15 minutes before processing. Slightly frozen bread actually crumbles more cleanly than warm bread.
Troubleshooting: Why Breadcrumbs Go Wrong
Crumbs turn to powder when the machine runs too long. Pulse in short bursts, check after each one, and stop while the texture still has visible pieces in it.
Crumbs stay damp in the middle of the batch when the baking sheet was crowded. One layer with space between the cubes is the fix, and stirring halfway through equalizes the drying.
Crumbs go moldy in storage because of residual moisture. This is the failure that matters most. Even a small amount of trapped water supports mold inside a sealed container, and the container keeps the moisture in. Cool the cubes fully, run the snap test, and only then seal them up. If a batch smells musty or you see a haze of white or green, discard it.
Crumbs brown too fast on the top while staying soft underneath when the oven is too hot. Drop the temperature to 300°F and give it more time rather than more heat.
Ways to Use Homemade Breadcrumbs
Homemade crumbs work anywhere store-bought ones do, and several places where they do better. The classic uses:
- Binding ground meat: about 1/3 cup per pound of meat for meatballs and meatloaf.
- Breading: dredge in flour, then beaten egg, then crumbs, in that order. The egg is the adhesive layer, so it always comes between the dry ones.
- Casseroles and gratins: a medium or coarse crumb sprinkled on top before baking.
- Mac and cheese topping: tossed with a little melted butter for a browned top.
- Pan-fried fish and breaded chicken: a coarse crumb gives the crunch that fried food needs.
- Eggplant parmesan and pasta bakes: seasoned crumbs, sometimes mixed with parmesan.
- Croutons: toss the crumbs in oil, salt, and garlic powder and bake at 350°F for 8 to 10 minutes.
If you do not have breadcrumbs at all and cannot make them, the substitutions that work best are crushed crackers, panko, coarsely grated Parmesan, rolled oats for a gluten-free coating, and crushed cornflakes for crunch.
Frequently Asked Questions
How do you dry bread for bread crumbs?
Cut the bread into 1-inch cubes, spread them in a single layer on a baking sheet, and bake at 300°F for 10 to 15 minutes, stirring once at the halfway mark. The cubes are ready when they look pale gold and snap cleanly rather than bending. Let them cool for 5 to 10 minutes before processing so the crumbs stay loose.
Can you make bread crumbs from regular bread?
Yes. Any bread works, including a loaf you just bought. Fresh bread holds more moisture, so it needs the full oven drying step, while already-stale bread and bread heels can often skip it. Removing the crusts gives a lighter, sand-like crumb; leaving them on gives a darker, crunchier one.
Can I make breadcrumbs without a food processor?
Yes. A box grater with its large holes is the closest match to a processor and takes about 5 minutes per loaf. Other options include a rolling pin in a sealed zip-top bag for a coarse crumb, a blender pulsed in small batches, and a potato masher for a chunky, uneven texture.
How can I make breadcrumbs without a blender?
Use a box grater, a rolling pin in a sealed bag, or a potato masher. A box grater gives the most uniform result, while a rolling pin is the fastest option for an intentionally coarse, uneven crumb. All of them work on bread that has been fully dried first.
What is the best tool for making bread crumbs?
A food processor is fastest and lets you control crumb size, but a box grater is the best tool when you do not own one. It takes about 5 minutes per loaf, needs no electricity, and produces a coarse, uniform crumb that is well suited to fried foods and coatings.
How long do homemade breadcrumbs last at room temperature?
Up to two weeks in a fully airtight container, provided the crumbs were completely dry when stored. The refrigerator stretches that to about a month, and the freezer to about three months. If your batches keep lasting longer, they were drier than the batches that spoil, since trapped moisture is what causes both mold and staleness.
Conclusion
Knowing how to make homemade breadcrumbs comes down to two things: removing all the moisture, and stopping the machine before the crumbs turn to powder. Cut the bread, dry it at 300°F for 10 to 15 minutes, cool it fully, pulse it, and store it airtight.
Once you do it a few times, the best move is to freeze bread as you buy it and keep a stash. Next time a recipe calls for breadcrumbs, you will already have them, and nothing goes in the bin. What is the dish you are crumbing this week?