
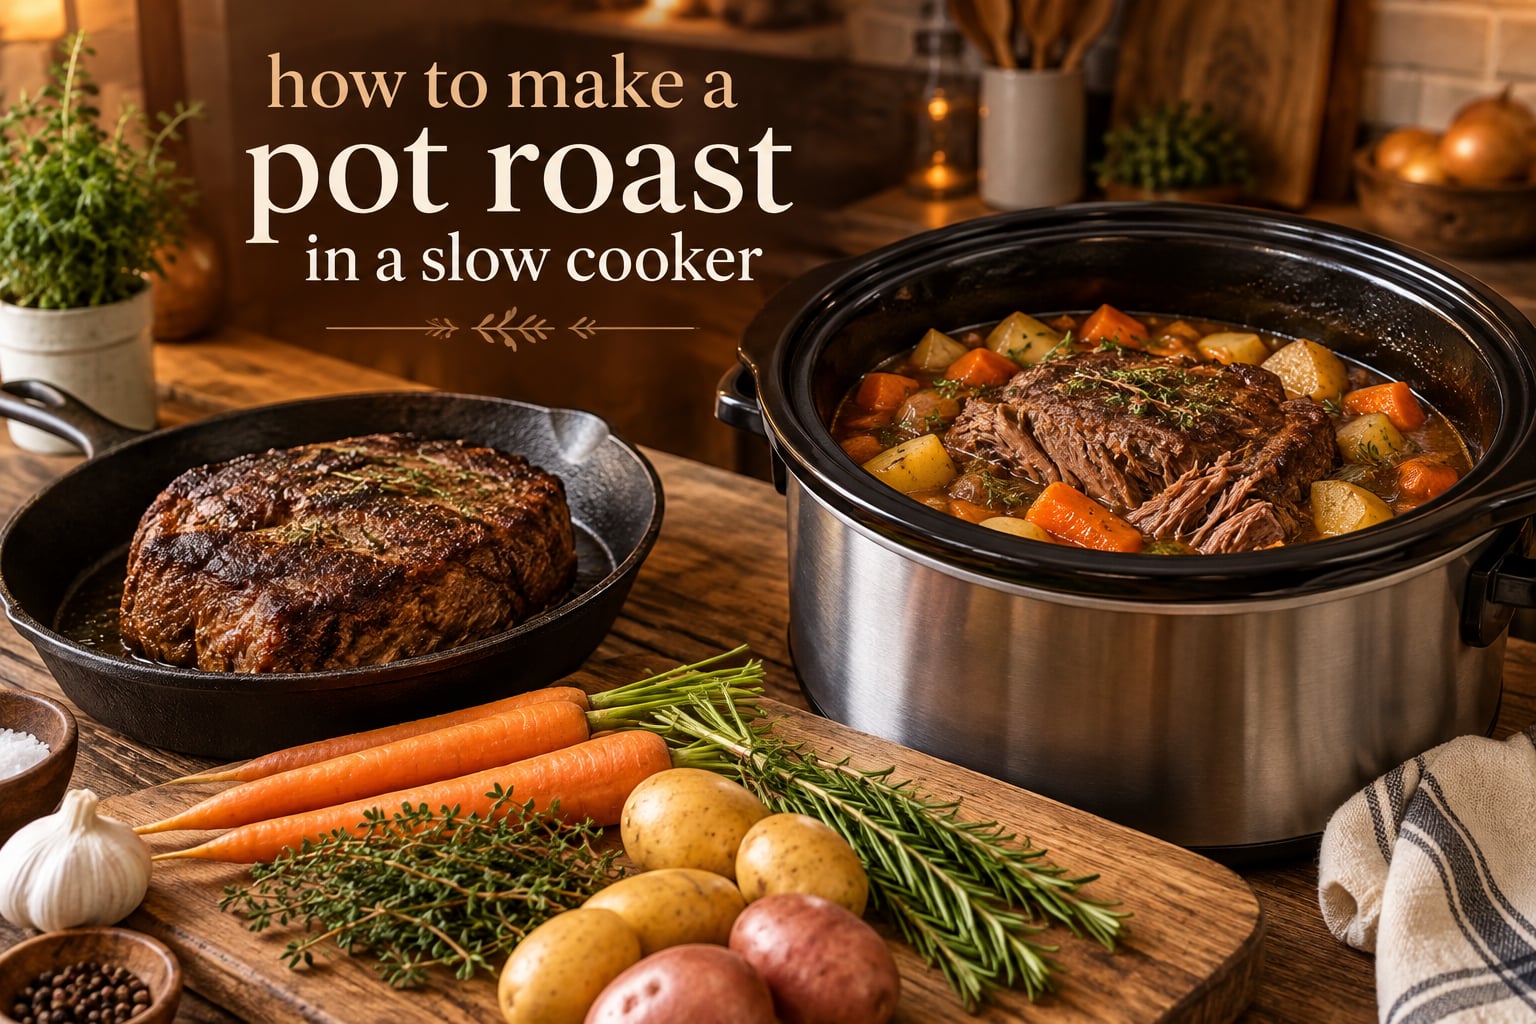
A slow cooker turns one of the toughest, cheapest cuts of beef into the most forgiving dinner you will ever make. Knowing how to make a pot roast in a slow cooker comes down to four things: a chuck roast, a hot skillet for browning, enough liquid to keep the pot from running dry, and enough hours for collagen to turn to gelatin. Get those four right and the rest takes care of itself.
Most home cooks who are disappointed with their pot roast have made the same two errors. They skipped the sear, or they lifted the lid every twenty minutes to check on it. Both are fixable, and both are explained in detail below.
This guide covers the full method, from shopping for the roast to thickening the gravy at the end. It also includes a troubleshooting section for the failures that come up most often, plus the science behind why time and temperature matter more than any single ingredient.
Table of Contents
- How to Make Pot Roast in a Slow Cooker: Quick Summary
- Ingredients for a Classic Slow Cooker Pot Roast
- Equipment and Slow Cooker Size Guide
- Step-by-Step: How to Make Pot Roast in a Slow Cooker
- Why Low and Slow Turns a Chuck Roast Tender
- How Much Liquid Does a Slow Cooker Pot Roast Need
- Where to Put the Vegetables in the Slow Cooker
- How to Thicken Pot Roast Gravy
- Common Mistakes When Making Crock Pot Roast
- Troubleshooting: Why Is My Pot Roast Tough
- Variations and Substitutions
- What to Serve With Slow Cooker Pot Roast
- How to Store and Reheat Pot Roast
- Food Safety for Make-Ahead Pot Roast
- Frequently Asked Questions
- Do I have to put liquid in a slow cooker with the roast?
- What is the best liquid to cook pot roast in?
- Do you have to brown a roast before putting it in the crock pot?
- What are the most common mistakes when making crock pot roast?
- How long does pot roast take in a slow cooker on low?
- Can you cook pot roast on high in the slow cooker?
- Why is my pot roast tough after 8 hours?
- How do I thicken the gravy without cornstarch?
- Wrapping Up
How to Make Pot Roast in a Slow Cooker: Quick Summary
Here is the whole method in five steps before we break it down in detail.
- Pat a 3 to 4 pound chuck roast dry, season it with salt and pepper, and brown it on all sides in a hot skillet.
- Layer large-cut carrots, onions, and Yukon gold potatoes in the bottom of the slow cooker.
- Set the browned roast on top of the vegetables and pour in 2 cups of beef broth.
- Cook on low for 8 to 10 hours without lifting the lid until the meat slides off a fork.
- Remove the roast, whisk the cooking liquid with a cornstarch slurry, and serve it as gravy.
That is the whole recipe in five lines. Everything that follows explains the why behind each step so you can adjust it to your cooker, your roast, and your schedule.
Ingredients for a Classic Slow Cooker Pot Roast
The ingredient list is short on purpose. A pot roast does not need twenty items, it needs good ones. Beef quality and broth quality do more work here than any spice.
What you need
- 3 to 4 pound chuck roast or boneless chuck shoulder, trimmed of excess fat
- 1 pound carrots cut into thick 2-inch chunks
- 1 pound Yukon gold potatoes halved or quartered
- 1 large yellow onion cut into thick wedges or rough chopped
- 2 cups beef broth or a combination of broth and water
- 2 tablespoons Worcestershire sauce
- 4 garlic cloves lightly crushed
- 2 tablespoons olive oil for searing
- 1 tablespoon kosher salt and 1 teaspoon black pepper
- 2 sprigs fresh thyme and 1 sprig fresh rosemary, or 1 teaspoon dried thyme and 1 teaspoon dried rosemary
- 2 bay leaves
Optional additions
- 2 tablespoons tomato paste for a deeper, slightly sweet gravy
- 1/2 cup red wine or 2 tablespoons red wine vinegar
- 8 ounces baby bella mushrooms added for the final 2 hours
- 1 tablespoon cornstarch mixed with 2 tablespoons cold water for thickening
- Fresh parsley for garnish at the end
One note on the herbs. Fresh herbs hold up better than dried in a long, moist cook, and cooks who have tried both report a noticeable difference in the finished broth. If you only have dried, use about half the volume.
Avoid baby carrots. They are already cut small enough that eight hours turns them to mush. If carrots are all you have, use them but add them in the final two hours instead of at the start.
Equipment and Slow Cooker Size Guide
A slow cooker pot roast really only needs the slow cooker itself. A skillet and a wooden spoon are the one optional addition, and they are worth having because searing is the step that adds the most flavor per minute spent.
Matching cooker size to roast weight matters more than most recipes admit. A roast that touches the lid will not cook evenly, and a cooker filled more than two-thirds full will not bring liquid back to a boil, which means your reduction trick will not work.
- 2 to 3 pound roast: use a 4 quart slow cooker
- 3 to 4 pound roast: use a 5 or 6 quart slow cooker, which is the most common size and the safest default
- 5 to 6 pound roast: use a 6 to 8 quart slow cooker
- Two roasts or a very large feed: use an 8 quart cooker or cook in batches rather than crowding
To check before you start, put the roast in the empty cooker with the vegetables around it. If the top of the meat sits within an inch of the lid, the cooker is too small. The roast needs vertical clearance to move as the liquid shifts during cooking.
Step-by-Step: How to Make Pot Roast in a Slow Cooker
Step 1: Season the roast
Pat the chuck roast completely dry with paper towels. Wet meat steams instead of browning, and a damp surface is the most common reason searing disappoints people.
Season it generously on all sides with kosher salt and black pepper. Chuck has deep pockets of fat and connective tissue, and seasoning the whole surface rather than just the top gives you seasoned meat through the finished dish.
Step 2: Brown the roast in a hot skillet
Heat the olive oil in a heavy skillet over medium-high heat until it shimmers. Sear the roast for 3 to 4 minutes per side until a deep brown crust forms. Work in batches if your skillet is small.
Do not move the meat while it is searing. Let it sit undisturbed long enough for a crust to form, then turn. Moving it early is what produces a pale, patchy surface instead of an even brown.
Step 3: Deglaze the pan and save the liquid
After the roast is browned and removed, add about half a cup of beef broth to the hot skillet and scrape the browned bits off the bottom with a wooden spoon. Those bits, called fond, hold the flavor you just built.
Pour this deglazed liquid into the slow cooker with the rest of the broth. Skipping this step is fine, but the gravy will taste noticeably flatter without it.
Step 4: Layer the vegetables
Scatter the carrots, onion, and potatoes across the bottom of the slow cooker in a single even layer. Cut them large. Small cuts turn to mush before the roast is tender.
Step 5: Add the roast and the liquid
Set the browned roast on top of the vegetables. Pour in the broth, the deglazed skillet liquid, and the Worcestershire sauce. The liquid should come roughly one-third of the way up the sides of the roast, not cover it entirely.
Tuck in the garlic cloves, bay leaves, and herb sprigs around the meat. Stir the liquid once so nothing is sitting directly against the crock.
Step 6: Cook on low for 8 to 10 hours
Set the cooker to low and leave it. A slow cooker on low holds somewhere around 190 to 200 degrees Fahrenheit, which is exactly the moist heat range that dissolves collagen.
Resist the urge to lift the lid. Every time you open it, the crock loses heat and has to climb back to temperature, and that recovery time adds to the total cook. If you must check, do it once near the end.
Step 7: Test for fork tenderness
At the 8 hour mark, insert a fork into the thickest part of the roast. The meat is done when the fork slides in with essentially no resistance and the fibers separate easily. Time is a guide, tenderness is the real signal.
Step 8: Thicken the gravy and serve
Transfer the roast to a plate and cover it loosely with foil so it does not dry out. Transfer the liquid to a saucepan, bring it to a simmer, and whisk in a cornstarch slurry until it reaches the consistency you want.
Spoon the gravy over the roast, carve it against the grain, and finish with chopped fresh parsley.
Why Low and Slow Turns a Chuck Roast Tender
Understanding the science changes how you cook. Chuck is not bad meat. It is a working cut, full of the connective tissue that holds a cow’s shoulder together during movement, and that tissue is mostly collagen.
Collagen is a dense protein that does not soften in a quick sear or under high heat. It needs sustained moist heat in a narrow temperature window to convert into gelatin. Gelatin is what makes braised meat feel rich and slippery rather than stringy.
A slow cooker on low holds that window for hours at a time without the outside of the meat overcooking. This is why a pot roast that is chewy after eight hours usually was not cooked long enough, not that it was cooked too long.
Searing serves a different purpose. It is flavor, not tenderness. The browning you see on the surface is the Maillard reaction, a chemical process between amino acids and sugars that only happens at high heat. That crust survives the long cook and seasons the finished broth.
The lesson: searing builds flavor, low and slow builds tenderness. They solve separate problems, which is why cooks who skip the sear can still make an excellent pot roast, just a milder one.
How Much Liquid Does a Slow Cooker Pot Roast Need
Yes, you need liquid. It is the most common skip in home pot roast attempts, and skipping it is why some roasts come out dry.
The purpose of the liquid is moisture and flavor, not full coverage. A slow cooker traps steam, so the liquid you add should keep the bottom of the pot covered and the food from sitting in a dry crock. If the meat is not submerged, the exposed top relies on steam.
As a working rule for a 6 quart cooker:
- 3 to 4 pound roast: 2 cups of liquid
- 5 to 6 pound roast: 3 cups of liquid
- Small 2 pound roast: 1 to 1.5 cups
Smaller cookers need proportionally less because the liquid climbs higher against the sides. A 4 quart cooker holding a 2 pound roast needs closer to a cup than two.
For the liquid itself, beef broth is the standard. Better than Bouillon dissolved in water is the option most often recommended by home cooks for flavor depth, and homemade or high-sodium canned broth works well if you watch the salt. Red wine, tomato sauce, or a mix of broth and wine all work and shift the profile.
Avoid water alone. On its own it produces a thin, flat gravy with none of the body the dish is known for.
Where to Put the Vegetables in the Slow Cooker
Put the vegetables on the bottom and the meat on top. This is the standard advice and it holds up for a reason.
Heat rises in a slow cooker, and the liquid pools at the base. Vegetables underneath sit in that liquid and cook by simmering, which is a gentle, even heat. Root vegetables cut to 2 inch chunks need roughly that much time to become tender without disintegrating.
Meat on top stays above the liquid line, closer to the top of the crock where the temperature is highest, which helps the roast reach tenderness in a reasonable number of hours.
If you reverse the order, the vegetables on top cook by falling condensation, which is slower and wetter. They often stay partly firm while the meat is already done, and the ones near the lid can overcook into mush.
One practical exception: if your cooker runs hot or your previous batch dried out, add the most delicate vegetables, usually mushrooms or peas, for the final two hours rather than at the start.
How to Thicken Pot Roast Gravy
Slow cooker liquid will not reduce much on its own, because the appliance is not hot enough to drive off water. A pot roast that looks thin needs a thickening step after you take the meat out.
The standard method is a cornstarch slurry. Mix 1 tablespoon cornstarch with 2 tablespoons cold water in a small bowl until smooth, then whisk it into the simmering liquid. Cook for a minute or two until it thickens, and season to taste.
Never add cornstarch straight to the pot. Dry starch clumps, and a slurry premixed with cold water dissolves cleanly. The same applies to adding it at the beginning of a cook, which is a mistake cooks report repeatedly. Early starch has hours to break down and lose its thickening power.
Other methods, and when each one works:
- Reduction: simmer the strained liquid uncovered on the stove for 10 to 20 minutes. This concentrates flavor as well as thickening, and it is the best choice if you dislike the texture starch gives.
- Flour and butter roux: melt 1 tablespoon butter, whisk in 1 tablespoon flour, cook briefly, then whisk in the strained liquid. Adds a rounder, more old-fashioned gravy flavor.
- Arrowroot or tapioca: work like cornstarch but tolerate boiling better, which makes them slightly easier to use for reheating.
- Potato mash: mash a small potato and stir it into the liquid. Thickens gently and adds body, with a subtle potato flavor.
Common Mistakes When Making Crock Pot Roast
These are the errors that show up over and over, and each has a straightforward fix.
- Skipping the sear. Not fatal, but you lose the crust and the deeper flavor. If you have ten minutes and a skillet, use them.
- Lifting the lid repeatedly. Every opening costs heat and adds recovery time. Set the lid and leave it.
- Using high to save time. High speeds the cook but dries the exposed top and pushes the liquid into the crock faster. Low is more forgiving and usually produces better results.
- Adding liquid after the meat goes in, in small amounts. Topping up mid-cook dilutes the flavor you built. Measure properly at the start.
- Cutting vegetables too small. Two inch chunks survive eight hours. Halved baby carrots and thin carrot coins do not.
- Cooking on warm by accident. Warm holds a temperature too low to cook meat, so you get a long wait and a raw result. Check the dial.
- Thickening the gravy at the beginning. Cornstarch added at the start loses its power over hours of cooking. Save it for the end.
- Overcrowding the cooker. A full cooker cannot return liquid to a simmer, so the top of the roast cooks dry.
Troubleshooting: Why Is My Pot Roast Tough
When a pot roast comes out chewy after a long cook, it is almost always one of four causes. Work through them in order.
The roast was too small or the wrong cut
A 2 pound piece of chuck can be tender, but a large, well-marbled chuck roast holds collagen longer than a small one. If the meat was tough, it likely needed more hours rather than fewer. A 3 to 4 pound roast is the sweet spot for a home slow cooker.
The cooker was too small
If the roast touched the lid, the top of it never got proper heat circulation. Buy a size up, or use a smaller cut, and check clearance before cooking.
The lid came off too many times
This is the most common cause. Each opening drops the internal temperature, and the roast spends part of the cook below the range where collagen converts. Cook the full eight hours without opening, then test.
The setting was warm instead of low
Warm does not cook. It holds food at a holding temperature. If the setting was wrong, the roast sat in a lukewarm bath for hours and never got going. Set it to low and start the clock again.
The meat was frozen solid
Frozen meat thaws unevenly in a slow cooker. The outside begins cooking while the center is still ice, which stretches cook time and can leave uneven texture. Thaw in the refrigerator overnight before you start.
What if the vegetables are mushy but the meat is fine
That is a cut-size problem, not a cook-time problem. Next time, cut larger, add delicate vegetables later, and keep the liquid from submerging the top of the vegetables too early.
What if the gravy will not thicken
Two causes cover nearly every case. Either the starch was added at the start of the cook, or the liquid was salted and the slurry was under-mixed. Start from a fresh simmer and whisk the slurry in fully.
What if the meat is dry
Dry meat usually means the roast sat exposed above the liquid with the lid off, or the cooker was set to high. Add a small splash of broth at the end and let the roast rest in it, covered, for 15 minutes.
Variations and Substitutions
Different cuts of beef
- Chuck roast or chuck shoulder: the best choice. Flavor, collagen, and forgiving texture.
- Bottom round: leaner and cheaper. Works, but it is leaner so watch the cooking liquid and consider adding a tablespoon of oil or butter when thickening.
- Eye of round: workable but the least forgiving. It dries out fastest, so keep an eye on it and pull it earlier.
- Brisket: works well and gives a richer, smokier result. Trim the fat cap before cooking.
- Rump roast: usable but lean. Avoid cooking it past tenderness.
Different flavor profiles
- Italian style: tomato paste, red wine, canned tomatoes, Italian seasoning, and mushrooms. Skip the Worcestershire or reduce it.
- Red wine: replace half the broth with a dry red wine and add a splash of wine vinegar at the end.
- Smoky: a small amount of liquid smoke, a smoked paprika, or a spoonful of barbecue paste.
- Herby: fresh thyme, rosemary, and parsley along with a few extra bay leaves.
- Gluten free: omit Worcestershire sauce and use gluten free broth, then thicken with cornstarch or reduction.
Different vegetables
Yukon gold potatoes hold their shape better than russets, which tend to break down into a starchy paste over eight hours. Carrots need thick cuts, parsnips and turnips work well, and onions can go in raw since they have eight hours to soften. Green beans, peas, and leafy vegetables should wait for the final hour.
What to Serve With Slow Cooker Pot Roast
Because the gravy is rich, sides work best when they either absorb it or cut through it. Here are the combinations we come back to.
- Crusty bread or dinner rolls for soaking up gravy
- Roasted or mashed potatoes, separate from the ones in the pot
- Green beans, green beans with almonds, or roasted broccoli
- A sharp salad such as arugula with lemon, or a cucumber and dill salad
- Buttered noodles or soft polenta for a more filling plate
- Pickled onions or quick pickles to cut the richness
Pot roast also makes an excellent sandwich the next day, sliced thin and piled on a roll with the gravy and pickles. Plan for that possibility when you cook, because a three pound roast serves a crowd with leftovers to spare.
How to Store and Reheat Pot Roast
Leftover pot roast is one of the better reasons to cook it in the first place. A whole roast gives you dinner tonight and two or three more meals.
Refrigerate the meat and the liquid separately if you can, in sealed containers, within two hours of serving. The liquid keeps better on its own and you can thicken only the portion you need.
Use refrigerated leftovers within three to four days. For longer storage, freeze the meat and gravy in separate airtight containers, pressing out the air, where they keep well for up to three months.
Reheating is where leftover pot roast usually goes wrong, because the meat keeps getting drier each time it warms up. Two methods fix it.
Oven method for the best texture
Put the meat in a baking dish with a splash of broth or gravy, cover tightly with foil, and warm at 250 degrees Fahrenheit for about 20 minutes. The trapped steam keeps the meat from drying out.
Stovetop method for speed
Warm the meat in a skillet with a couple of tablespoons of broth, covered, over low heat. Keep the liquid moving occasionally and add more if the pan looks dry.
Warm the gravy separately and stir it in at the end. Reheated gravy thickens more than you expect, so check it before adding starch.
Food Safety for Make-Ahead Pot Roast
A few safety questions come up around this recipe, mostly about searing and about how long a roast can sit out.
Do not leave a raw seasoned roast sitting on the counter while you gather ingredients for more than two hours, and one hour if the room is above 90 degrees. If you are doing a make-ahead prep the night before, season and refrigerate the roast rather than leaving it out.
When searing, work in batches so the pan stays hot. A crowded pan drops the temperature and produces a gray, lukewarm surface that never reaches the conditions needed for good browning.
For make-ahead cooking, you can prep and season the roast, chop the vegetables, and mix the broth in separate containers in advance. Keep them separate so nothing sits submerged for a full day before cooking. Sear the meat the day you cook, not the day before.
Check the roast reaches a safe internal temperature before serving, which for a slow cooker pot roast is handled by the long cook and the fork test. If you want a thermometer confirmation as well, insert one into the thickest part and read it once the meat is fork tender.
Refrigerate leftovers within two hours of serving, and reheat them until they steam throughout.
Frequently Asked Questions
Do I have to put liquid in a slow cooker with the roast?
Yes. The liquid keeps the bottom of the crock from going dry and gives you the gravy. For a 3 to 4 pound roast in a 6 quart cooker, use about 2 cups of beef broth so it comes roughly one-third of the way up the sides of the meat. You do not need to fully submerge the roast, because the slow cooker traps steam. Water alone produces a thin, flat gravy, so broth is the better choice.
What is the best liquid to cook pot roast in?
Beef broth is the standard and gives you the most balanced result. Other good options include Better than Bouillon dissolved in water, homemade bone broth, red wine mixed with broth, or tomato sauce for an Italian profile. Whatever you choose, the quantity matters more than the type: roughly 2 cups for a 3 to 4 pound roast in a 6 quart cooker, and 1 cup in a 4 quart cooker because the liquid sits higher against the sides.
Do you have to brown a roast before putting it in the crock pot?
No, it is optional. Browning adds a crust and deeper flavor through the Maillard reaction, but plenty of home cooks make an excellent pot roast without it. If you have a skillet and ten minutes, it is worth doing. Pat the meat dry first, use a hot pan, work in batches, and let the roast sit undisturbed for 3 to 4 minutes per side so a real crust forms.
What are the most common mistakes when making crock pot roast?
The most common errors are lifting the lid repeatedly, using high instead of low to save time, cutting vegetables too small, skipping the sear when they had time for one, adding liquid in small amounts after the meat goes in, overcrowding the cooker, and thickening the gravy with cornstarch at the beginning instead of the end. Each has a simple fix, and the fork test beats any timer when deciding when the roast is done.
How long does pot roast take in a slow cooker on low?
A 3 to 4 pound chuck roast takes 8 to 10 hours on low. The clock is only a guide, so start checking at the 8 hour mark and keep going until a fork slides into the thickest part of the meat with no resistance. Some roasts pull apart at 8 hours and others need the full 10, and a badly undercooked roast will be tough no matter how long you trust the timer.
Can you cook pot roast on high in the slow cooker?
You can, and it will finish in roughly 4 to 5 hours, but low gives better results. High pushes moisture out of the exposed top of the roast and moves liquid into the crock faster, which can leave the meat dry and the sauce thin. High is reasonable when you are short on time, though pot roast is one of those dishes where the slow version is genuinely easier to get right.
Why is my pot roast tough after 8 hours?
Four causes cover nearly every tough result: the roast was too small or the cut was lean, the cooker was too small so the top never got heat, the lid was opened repeatedly and the roast spent hours below the temperature needed to convert collagen, or the dial was set to warm instead of low. Check the cooker size for clearance, leave the lid closed for the full cook, and test with a fork rather than the clock.
How do I thicken the gravy without cornstarch?
Reduce it. Transfer the strained cooking liquid to a saucepan and simmer it uncovered for 10 to 20 minutes until it concentrates and thickens, which also intensifies the flavor. Other starch-free options include a butter and flour roux for a rounder gravy, arrowroot or tapioca if you want a lighter texture, or mashed potato stirred in for body. All of these work better than cornstarch added at the start of a cook, which loses its power over time.
Wrapping Up
Knowing how to make a pot roast in a slow cooker comes down to a short list of decisions: a 3 to 4 pound chuck roast, a hot skillet if you have one, large-cut vegetables underneath, 2 cups of beef broth, and 8 to 10 hours on low with the lid closed.
After that, trust the fork rather than the clock, and thicken the liquid at the end. Cook it once this way, taste the broth, and adjust the broth, the herbs, and the cut to taste on the next round. That adjustment is what turns a good pot roast into your pot roast.